Until now, the way to connect Kommunity to your other tools was Zapier. It's great — but it means everything has to route through a third party, and it stops where Zapier stops.
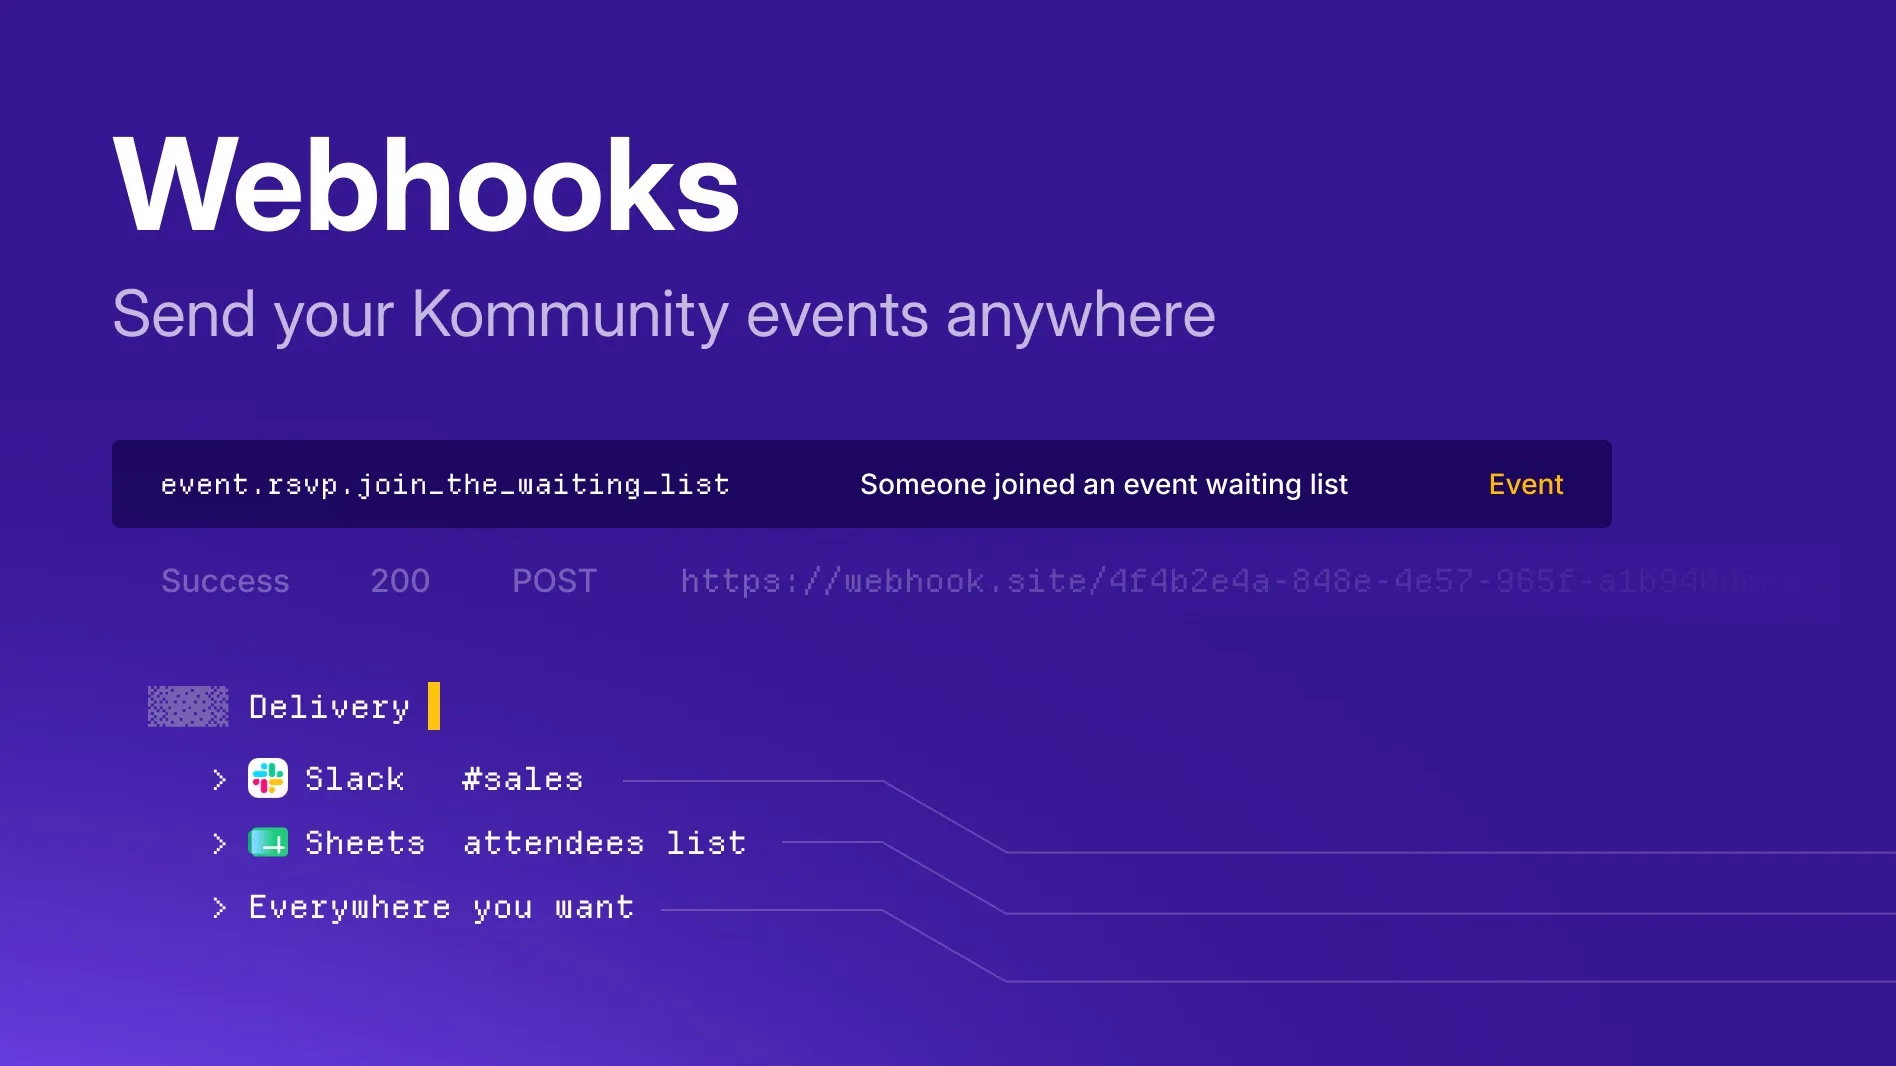
Today we're adding a second, more direct option: your own webhooks. Point Kommunity at any URL you control and we'll POST an event to it the moment something happens in your community — a ticket sold, a new RSVP, a member joining, a post on the wall. From there it's yours: drop a message into Slack, update a record in your CRM, kick off a build, log it to a warehouse, whatever you like.
No Zapier task limits, no waiting on an integration to exist. If your service can receive an HTTP request, it can receive Kommunity events.
What you can wire up
A few things people are already doing with it:
- AI agents & assistants — pipe every RSVP, ticket and new member into your own AI workflow to summarize activity, draft personalized follow-ups, or answer questions about your community the moment things happen.
- Slack / Discord — a live feed of ticket sales and new members in a team channel.
- Your CRM — every attendee and new member pushed straight into HubSpot, Salesforce, Notion, an Airtable base, or your own database.
- Ops & analytics — stream events into a warehouse or dashboard to track RSVPs and revenue in real time.
- Automations — trigger a welcome email, a fulfilment step, or an internal alert the instant a ticket is bought.
Setting one up
Open your community's Developer panel, go to the Webhooks tab, and add an endpoint:
- Paste your Payload URL (e.g.
https://your-service.com/webhooks/kommunity). - Tick the events you want that endpoint to receive — mix and match community, event and wall events freely.
- Save. That's it — deliveries start immediately.
You can add an endpoint at the community level (all events across the community) or scope it to a single event from that event's Developer panel. Add as many endpoints as you need, each subscribed to a different set of events.
The events we send
Every delivery is a JSON POST. The body always starts with the same envelope so you know where it came from, followed by the fields for that specific event:
{
  "event_type": "event.ticket.created",
  "event_id": "...",
  "event_slug": "annual-conf-2026",
  "community_slug": "acme",
  "community_name": "Acme Community",
  ...event-specific fields...
}
These are the events you can subscribe to:
Community
| Event type | Fires when |
|---|---|
community.joined |
A member joins your community |
community.left |
A member leaves your community |
Events
| Event type | Fires when |
|---|---|
event.created |
A new event is created |
event.rsvp.join |
Someone RSVPs "yes" |
event.rsvp.join_the_waiting_list |
Someone joins the waiting list |
event.left |
Someone leaves an event |
event.ticket.created |
A ticket is purchased |
event.ticket.updated |
A ticket is updated |
event.ticket.canceled |
A ticket is canceled or refunded |
Wall
| Event type | Fires when |
|---|---|
wall.post.created |
A new post is added to the community wall |
What's in each payload
Every delivery includes the envelope above. Beyond that, each event type carries its own fields.
Member events
community.joined, community.left, event.rsvp.join, event.rsvp.join_the_waiting_list, event.left
| Field | Description |
|---|---|
id |
Member ID |
name |
Display name |
username |
Username |
avatar |
Avatar URL |
event.left also carries a reason, so you can tell whether someone left on their own or lost their place because their subscription ended:
| Field | Description |
|---|---|
reason |
self (the attendee or an organizer removed the registration), subscription_canceled (a subscriber-only event whose subscription ended) or subscription_payment_failed (the subscription ended because the payment could not be collected) |
Event created — event.created
| Field | Description |
|---|---|
id |
Event ID |
name |
Event name |
slug |
Event slug |
theme_name |
Event page theme (nullable; null means the classic layout) |
detail |
Description (HTML) |
detail_without_html |
Description as plain text |
url |
Public event URL |
start_date |
Start, ISO 8601 |
end_date |
End, ISO 8601 |
Ticket events
event.ticket.created, event.ticket.updated, event.ticket.canceled. On a cancellation or refund, status reflects the cancel/refund state.
| Field | Description |
|---|---|
order_ticket_id |
Ticket ID |
status |
Ticket status |
attendee_name |
Attendee name |
email |
Attendee email |
phone_number |
Attendee phone (nullable) |
pnr |
Booking reference / check-in code |
ticket_name |
Ticket type name |
paid_price |
Amount paid |
discount_code |
Discount code used (nullable) |
attendee_company_name |
Company (nullable) |
attendee_title |
Job title (nullable) |
Wall post — wall.post.created
The post body itself is not included.
| Field | Description |
|---|---|
id |
Post ID |
wall |
Wall identifier |
url |
Post URL |
author_id |
Author ID |
author_username |
Author username |
author_name |
Author name |
A ticket sale, for example, lands on your endpoint like this:
{
  "event_type": "event.ticket.created",
  "event_id": "...",
  "event_slug": "annual-conf-2026",
  "community_slug": "acme",
  "community_name": "Acme Community",
  "order_ticket_id": "...",
  "status": 1,
  "attendee_name": "Jane Doe",
  "email": "[email protected]",
  "phone_number": null,
  "pnr": "ABC123",
  "ticket_name": "General Admission",
  "paid_price": 25,
  "discount_code": null,
  "attendee_company_name": null,
  "attendee_title": null
}
Verifying it's really us
Event deliveries carry a Kommunity-Signature-256 header. It's a fixed token, shown right in your Developer panel — compare the header on each incoming request against that value and reject anything that doesn't match. It's generated when the event (or community) is created and never changes, so verification is a single equality check.
Reliable by default
Every delivery is sent asynchronously and retried automatically on failure with exponential backoff, so a brief blip on your side won't drop the event. And under Recent deliveries in the Webhooks tab you can see every attempt — success or failure, the HTTP status we got back, and the exact JSON payload we sent — so debugging an integration takes seconds.
Try it
Head to your community's Developer → Webhooks tab, add an endpoint, and pick your first event. Zapier isn't going anywhere — this just gives you a direct line when you'd rather own the integration yourself.