How to create an event
You’ve formed a community and brought people together, now you want to get to the next level:
Create an event for your community
To create an event, you should have created a kommunity first.
If your community is ready let’s start:
1 - Click on the green "Create" button that you'll see on the top right of your homepage or o to your community’s page and click the ‘’ + New Event’’ button at the right top
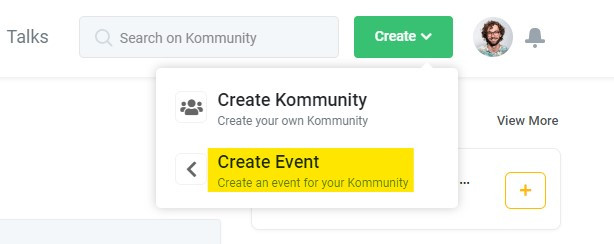
You'll be directed to the "Create Event" page
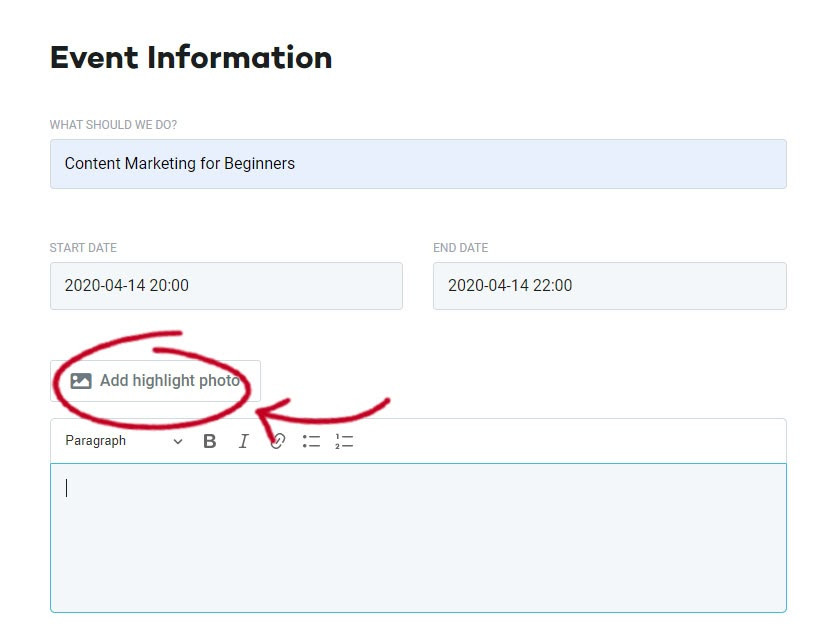
2 - Fill in your event information; the title of your event, date&time, event description, etc. If you want you can add a highlight photo.
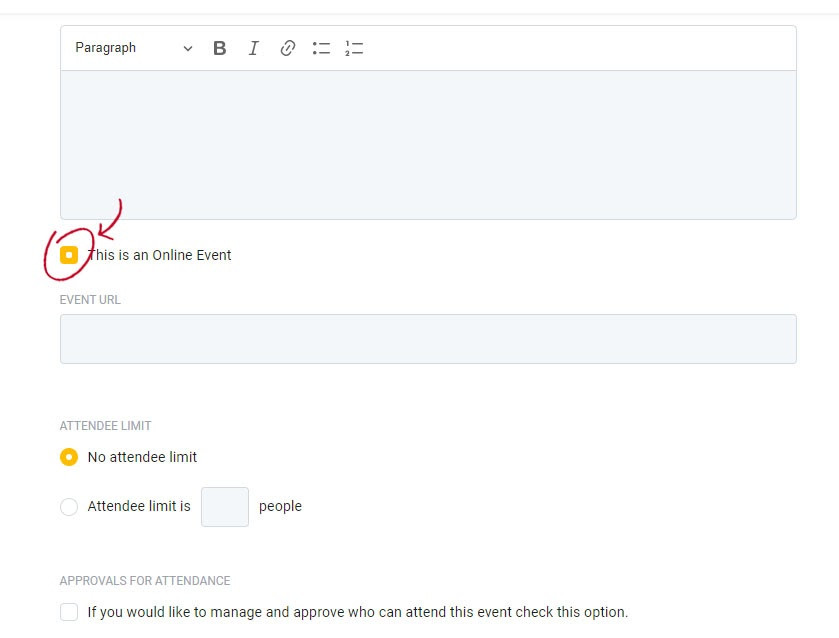
3 - If you are planning an online event check the ‘’This is an online event’’ box and paste your event url below
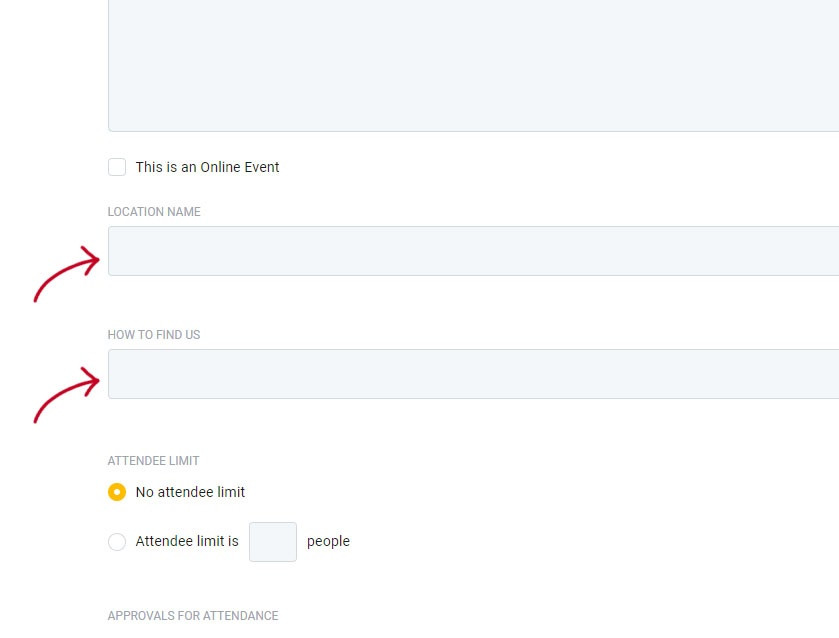
4 - If you are planning an offline event, fill in the location information of your event.
If you want you can briefly describe the location for attendees to find easier.
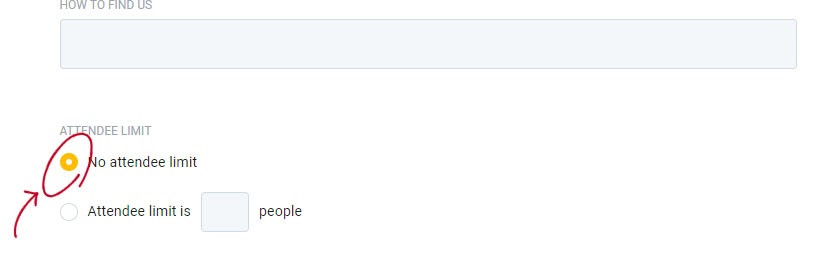
5 - If you don’t have an attendee limit mark the ‘’no attendee limit’’ option
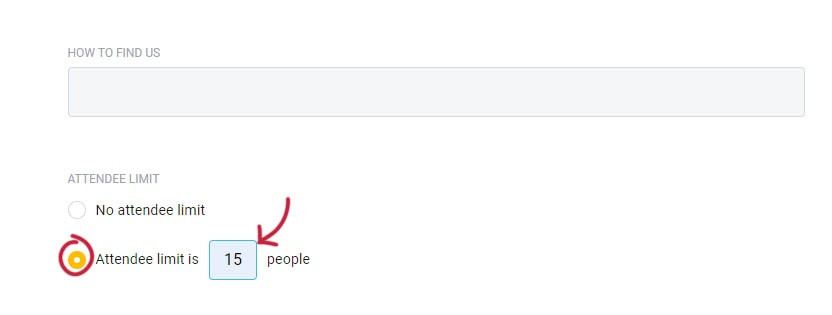
6 - If you have an attendee limit mark the other option and fill in the number for how many people you want to attend. For example: If you want to limit the attendance with 15 people, write it in the box.
7 - If you want to manage and approve who can attend your event, check the ‘’approvals for attendance’’ box. In this way you can waitlist your attendees and collect RSPVs(link here) for your event 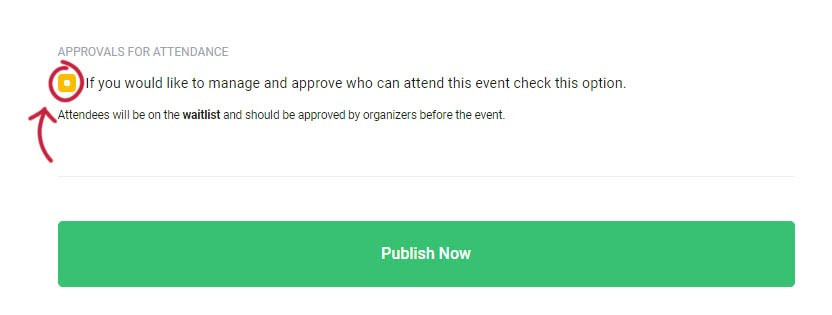
Events are a great way to engage with people and keep your community active. It allows members of the community to socialize and discuss specific topics. It’s fun and exciting for all!